Want to use Sudonix themes ?
-
So, you’ve stumbled across Sudonix, love the themes, and wish you had them on your own NodeBB instance?
Well, very soon, you can
") I’ll be uploading all of the themes plus the master CSS to a private Git repository - you’ll need to contact me for access to it, but that also means you’ll get the latest and greatest as I release fixes, updates, etc.
I’ll be uploading all of the themes plus the master CSS to a private Git repository - you’ll need to contact me for access to it, but that also means you’ll get the latest and greatest as I release fixes, updates, etc.In addition, I’ll be uploading the jQuery / JS code I’ve written that’s in use here also (for example, the dynamic category panel)
Because of the amount of work I’ve put into this over time, a donation is very much appreciated (but not mandatory as that would negate the very service this site sets out to provide), and a backlink from your site to mine (which is mandatory).
Interested? Let me know by posting here, or contact me via PM if preferred.
-
 undefined phenomlab pinned this topic on
-
Dear Mr. phenomlab, this theme looks really great and I would love to apply it on my website, how should I do it!
-
Dear Mr. phenomlab, this theme looks really great and I would love to apply it on my website, how should I do it!
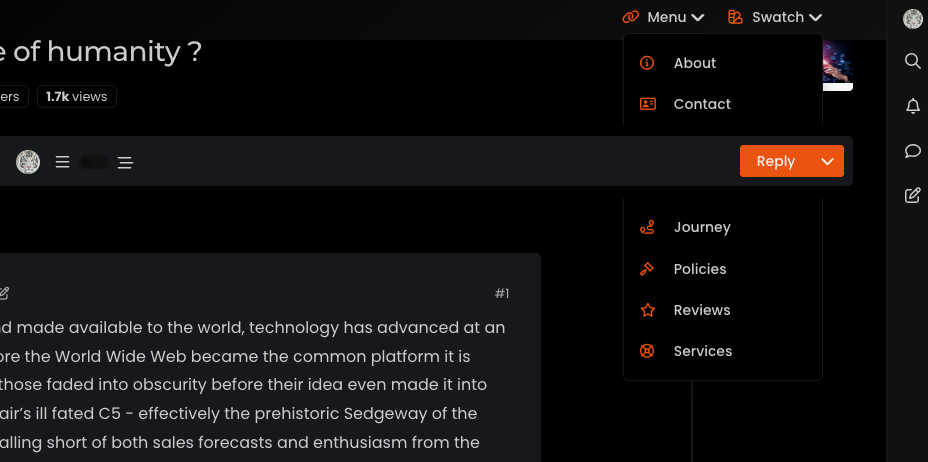
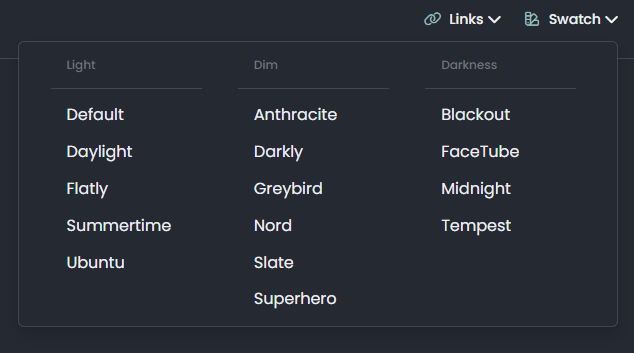
@veronikya hi, and welcome aboard. Which theme are you referring to ? There are several on this site - if you look to the right of the paperclip icon, you’ll see a “Swatch” icon which will show a drop-down when clicked and the available themes.
-
I really like the paperclip feature, it switches between themes very smoothly, can you provide this feature? Thank you very much!
-
I really like the paperclip feature, it switches between themes very smoothly, can you provide this feature? Thank you very much!
@veronikya I’m going to be providing all of the themes as open source soon on
githubso you should check back here frequently for updates.As this site runs NodeBB, the themes are specifically designed for this platform. Are you running NodeBB yourself, or do you need the themes for another type of site?
-
Ok, very much looking forward to your release and yes, Nodebb version v3.2.1, I’ve been using Nodebb for two years now!
Love your site so much! -
Ok, very much looking forward to your release and yes, Nodebb version v3.2.1, I’ve been using Nodebb for two years now!
Love your site so much!@veronikya there’s some custom JS needed to support the themes, but I’ll provide that too.
Mark – Founder, Phenomlab Ltd
Executive IT & Security Leadership
Phenomlab Ltd -
@veronikya there’s some custom JS needed to support the themes, but I’ll provide that too.
@veronikya in case you hadn’t seen it, I’ve released the code, CSS, and guide here
-
Such a pleasant surprise, thank you for all you do.I’m trying to deploy it to my site now!
-
Mark hi
How i can add below status plugin?
-
@cagatay said in Want to use Sudonix themes ?:
Mark hi
How i can add below status plugin?this is nice, I see its usefulness, but somehow this reminds me old forums very much
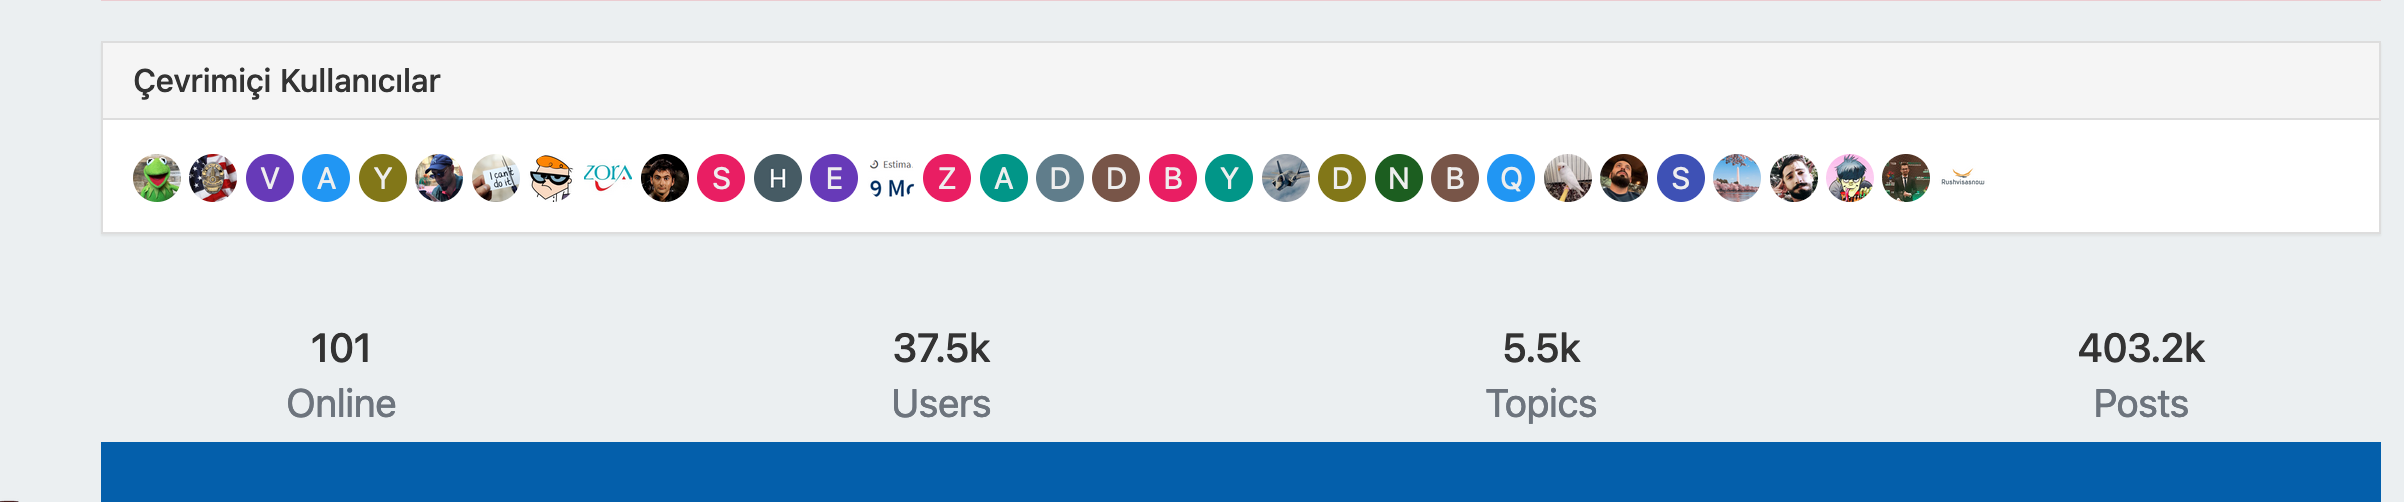
 so, I have mixed feelings about this widget… I guess nodebb uses a modernized version of the stats by default…
 -
@cagatay said in Want to use Sudonix themes ?:
Mark hi
How i can add below status plugin?this is nice, I see its usefulness, but somehow this reminds me old forums very much
so, I have mixed feelings about this widget… I guess nodebb uses a modernized version of the stats by default…@crazycells yes, it does. It’s somewhat traditional, and a bit “PHPBB” if I’m honest, but I quite like it.
Mark – Founder, Phenomlab Ltd
Executive IT & Security Leadership
Phenomlab Ltd -
@crazycells yes, it does. It’s somewhat traditional, and a bit “PHPBB” if I’m honest, but I quite like it.
@phenomlab Yes probably… But, I think all old forum formats had something very similar… I, too, liked this, do not get me wrong, it is quite useful for a nice summary of forum stats… But at least for “persona” theme, default forum stat widget was more proper I guess… or maybe it is my bad taste lol…
PS. I realized that I have to adjust “online users” title as multi-language…
-
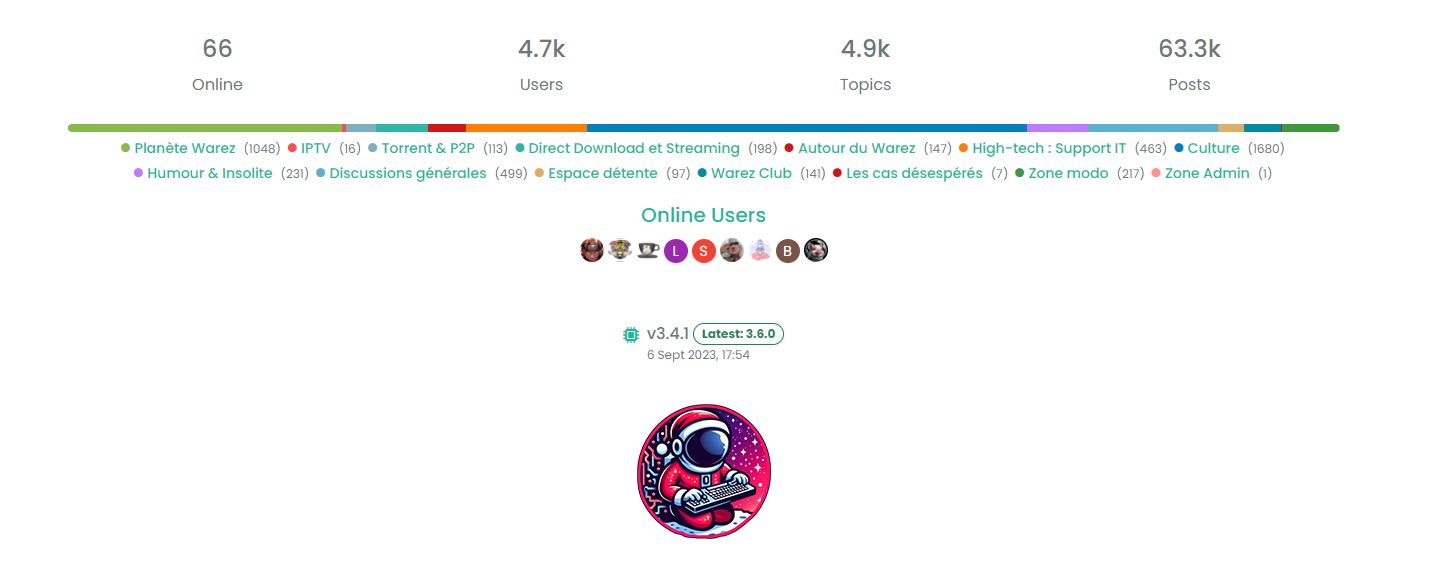
Yep I prefer too modern persona widgets.
Like this for me :
-
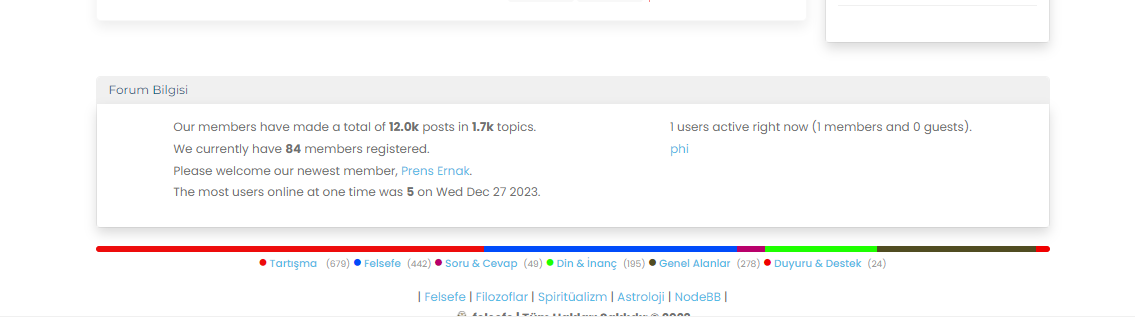
here mine
-
undefined phenomlab unpinned this topic on
-
Mark hi,
I would like to use your color which you are using now. Post,background, topic etc.
Could you please help me? -
Mark hi,
I would like to use your color which you are using now. Post,background, topic etc.
Could you please help me?@cagatay Can you elaborate a bit more?
-
Such as the background color used, the frame and color of the topics and the fonts. I want it to be on my site like on Sudonix.
-
Such as the background color used, the frame and color of the topics and the fonts. I want it to be on my site like on Sudonix.
@cagatay Structurally, Sudonix is now a significant departure from the stock Harmony theme and makes several adjustments to layout, logos etc. Because of this, your site will not look as it should post code implementation, therefore, I’d advise against going for a direct copy of the code, but to focus on setting the CSS to be how you’d like in terms of colours etc.
Your own site has quite a high level of customisation, and this would effectively be lost if you chose the direct replacement route.
Hello! It looks like you're interested in this conversation, but you don't have an account yet.
Getting fed up of having to scroll through the same posts each visit? When you register for an account, you'll always come back to exactly where you were before, and choose to be notified of new replies (either via email, or push notification). You'll also be able to save bookmarks and upvote posts to show your appreciation to other community members.
With your input, this post could be even better 💗
Register LoginRelated Topics
-
-
-
Smart Widgets
Solved Configure -
-
-
-
-